Monday, October 7, 2019

Making an Entrance with Double Doors


Last winter we had problems with our home being super drafty in our front entrance and living room. Our front entrance is an addition to the original home that was never insulated and leads into our spacious living room. We knew going into this winter that we had to improve the insulation some how. Initially, we wanted to try blow in insulation at our north facing walls and surround the front entry addition. It turns out with our steel siding and the unpredictability of what's hidden in an old home's walls, the price would have been a pretty penny. Back to the drawing board, we decided to hunt down double doors to block off the drafty front entry from our living room.

We purchased the two vertical panel doors from Dell's Architectural Antiques in Eau Claire. The owner took the dimensions of our archway and pulled two matching pairs of double doors that would work in our space. He was even able to supply us with door hardware that matches the old skeleton locks throughout our home and an antique light fixture for our foyer overhead. Leaving Dells, we knew the doors would compliment our homes character. I always find it my goal in our renovations to keep the character the house presents. Even if I personally like a look better, my gut always points me to what will match best and show that it has been there since 1946.

This project took us 3 good weekends to complete. Nate had said in the middle of the renovation that this was our most challenging reno yet. Between getting measurements correct and presenting an appealing aesthetic we both had our work cut out for us. For me, the challenge surfaced a lot of unknown knowledge of all that goes into making a door function- and we were doing two. 

With the double doors installed and all the final touches complete, we are happy to share that the doors eliminated our draft immensely. The double doors add an immense amount of character and function and that my friends is a win of a renovation. The front entry now reminds me of a small 3-Season porch with some bench seating perfect for sunny fall and spring days. We already are loving the doors and cannot wait to continue to use them in our daily living. Personally, I cannot wait to decorate them with fun Christmas wreaths in a month here. 
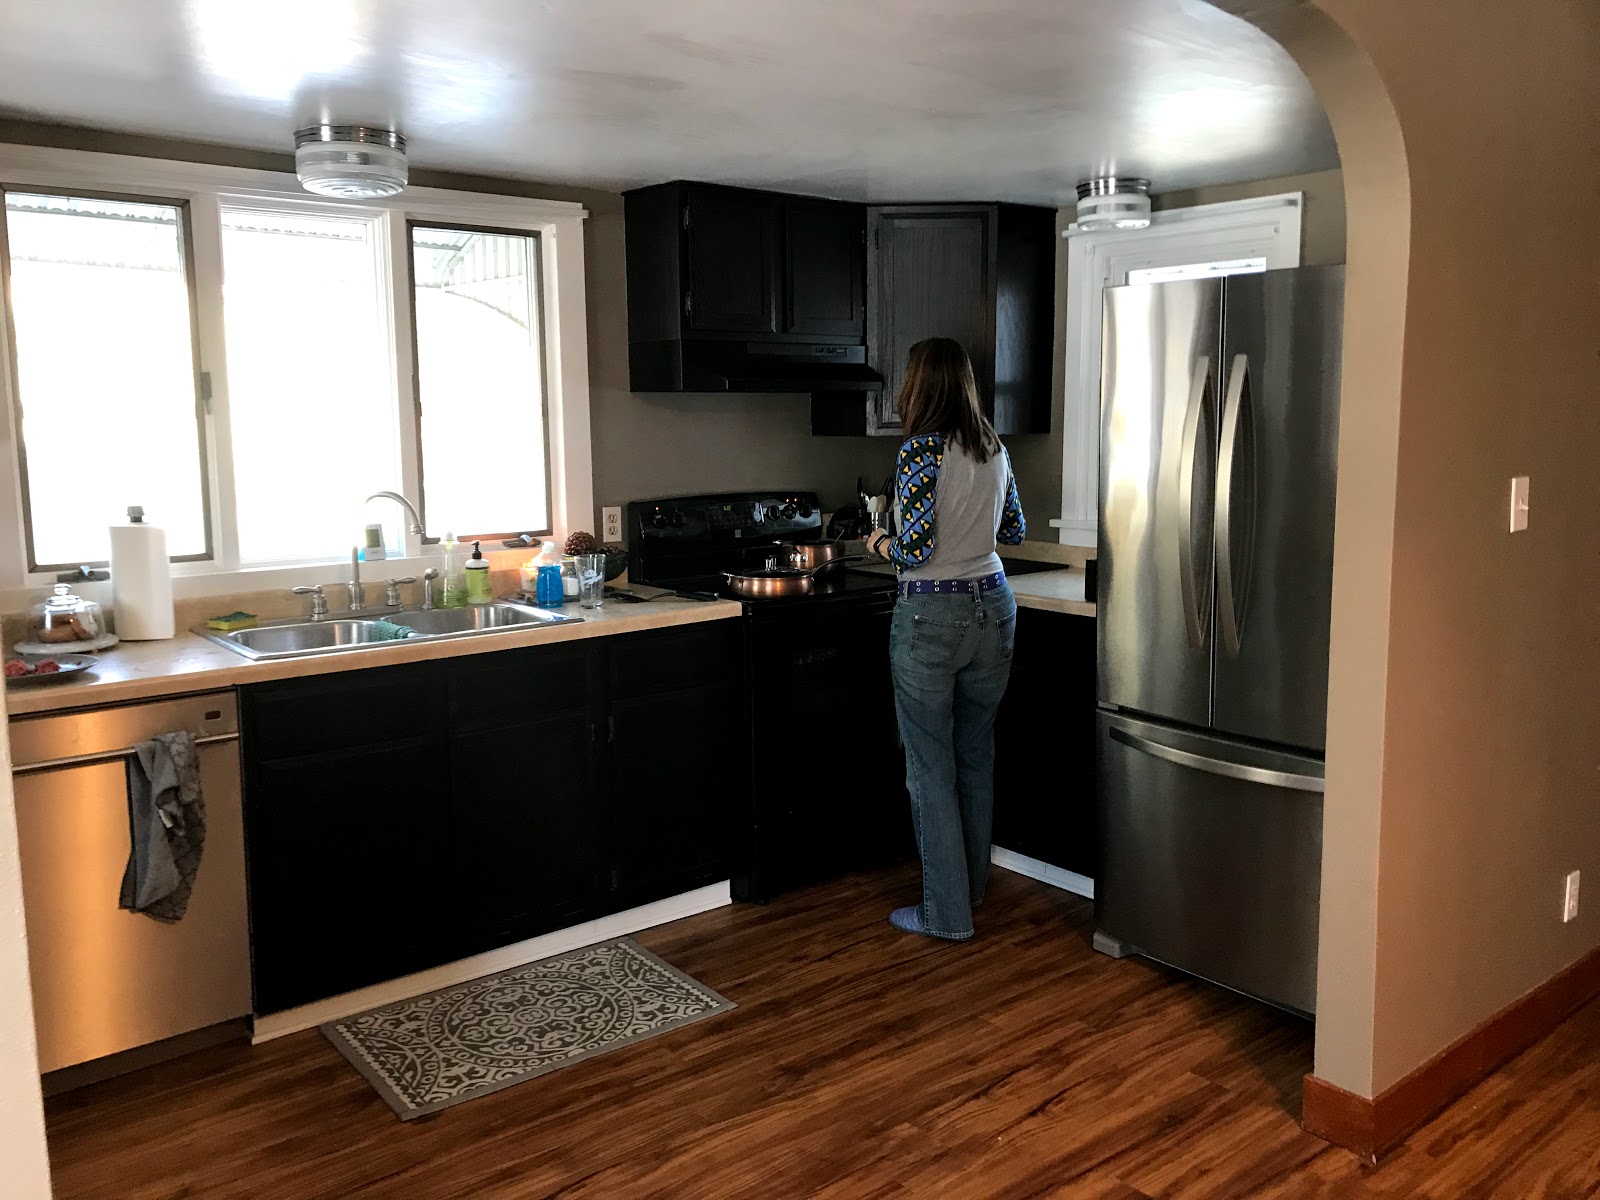

Before


After


Until next time!
 -Nate and Madalen


Friday, July 12, 2019

Out with the Old (Patio) and in with the New (Landscaping)

Everyone gets busy in these summer months that come and go so quick. We have started the summer off with a bang at the Mack residence. Our aged and cracked concrete patio has been hauled away and landscaped to perfection thanks to the big guy in charge. Our back  patio butts up to the foundation and has given us nothing but problems since we've moved in. Because it was so cracked, water from rain showers would pool up resulting in standing water. Through out this past winter we had even more trouble with the water and snow concoction pooling up and then coming through our foundation to our basement. Nothing better for newlyweds than a flooded basement. We went into the summer more ambitious than ever to correct and fix this problem that the previous homeowners had been neglecting.

To start, Nate and a group of our family members came over to remove all of the cracked concrete.
We installed a window well at the left block window and fabricated a corner piece of metal for the right block window to insure water stays out. Nate rented a trencher to trench deep underground canals to run the drain tile which now connect to 2 french drains. These drains are huge basins to drain any water 6 feet down in the ground.We then put an order in for black dirt to fill in the empty space where the patio laid and fill in the trenches.  Every day for two weeks Nate would be outside trying to finish this project up; talk about a work horse!


We finally have got the landscaping completed featuring grass seed, edging, fabric and mulch. About a month later all the plants and grass have grown in enough to show everyone the finished product. Being built in the 1940's, there are multiple additions that this house has gone through including the kitchen, back breeze way, and master bath. Having such a unique home, makes some projects much more interesting than expected. Keeps us always on our toes and thinking.


Thursday, January 10, 2019

Kitchen Demo

Do you have a space in your house that has bothered you ever since it became your home. This space for me is my kitchen. It's not wide, short in length and doesn't utilize the space to it's potential. The first weekend we moved in I was itching to create the space that worked for me and that would work for future homeowners. The big red exclamation was the cabinet stain. The sellers of our home tried to apply a DIY gel stain to the cabinets and took no steps to creating an ascetically pleasing look. They didn't sand down the cabinets, take off the hinges, tape the cabinets up, or apply a lath/ polyurethane top coat . The result was a disaster which resulted in excess dark stain on the wall, ceiling and counter top, streaky lines on the cabinetry, chips and marks all over, and one motivated buyer- me.

We first took off the cabinet section with the microwave (by we I obviously mean Nate), because that was the eye sore when first walking into the kitchen. I sketched out a plan with floating shelves in placement of the current microwave cabinet and an over the range microwave installed over the stove. It makes sense to replace the hood that was currently over our range with the microwave to give us more shelving space. Plus, the microwave stuck out so far out of all the rest of the cabinetry it drove me nuts. We then continued and took down the hood and cabinet section above. Tearing everything down is the easy and exciting part. Then you get into the "oh shit" situations that spin your head.

Putting back the pieces of a jigsaw puzzle is comparable to what we went through in our next steps. We bumped the right corner cabinet out, installed the top cabinet piece that was above the previous microwave to go atop the new uninstalled microwave, installed the microwave underneath and some how it all fit together. 

I bought a wall texture spray and applied it to the left of the window. I only had to wait 30 minutes to paint over the texture and it made it look like the wall was always like that. We then bought a 9 1/4" wide board, cut two 30" in length shelves, and applied a gel poly to seal the cedar. My dad welded us 4 brackets to support the shelves and I spray painted them black to look concise with the kitchen's look. 

On top of all these tasks, we also stained our cabinets on 3 separate occasions and applied a gel polyurethane. The previous homeowner was nice enough to let us know what stain she used and it took us 3 applications to finally get a clean look with no streaks. At Menards we purchased cabinet hardware to attach to all of our doors and drawers. We were lucky enough to not have had any preexisting hardware.

Our kitchen renovation was our most challenging reno yet. Each step of the way was a struggle and mind boggling. Over a month's period and around $600 dollars later we are at the finish line. Being handy and willing to take on these tasks allows us to make all these changes to our home. I do not even want to imagine the cost of a painter alone to come and re-stain my cabinets. Our kitchen now is functional, modern, spacious, and aesthetically pleasing. It gives off a warm and raw look that portrays a feeling of cleanliness. Being the kitchen, the cleanliness feeling is a must.

Through all my details and blurts of information in the blog, I hope you take a hammer to a space that is asking for it. What better month to it then January. You're stuck inside because of the cold, plus a lull of events occurs after the holidays. Am I convincing? Starting is never easy, because then for a month you'll be living with a space all out of sorts. Starting forces you to get to the next step though and all the steps following gets you to the worth of your effort. 

Good luck and share with me what space you'd like to take a hammer to. 

The End Result


Our Kitchen's Transition